

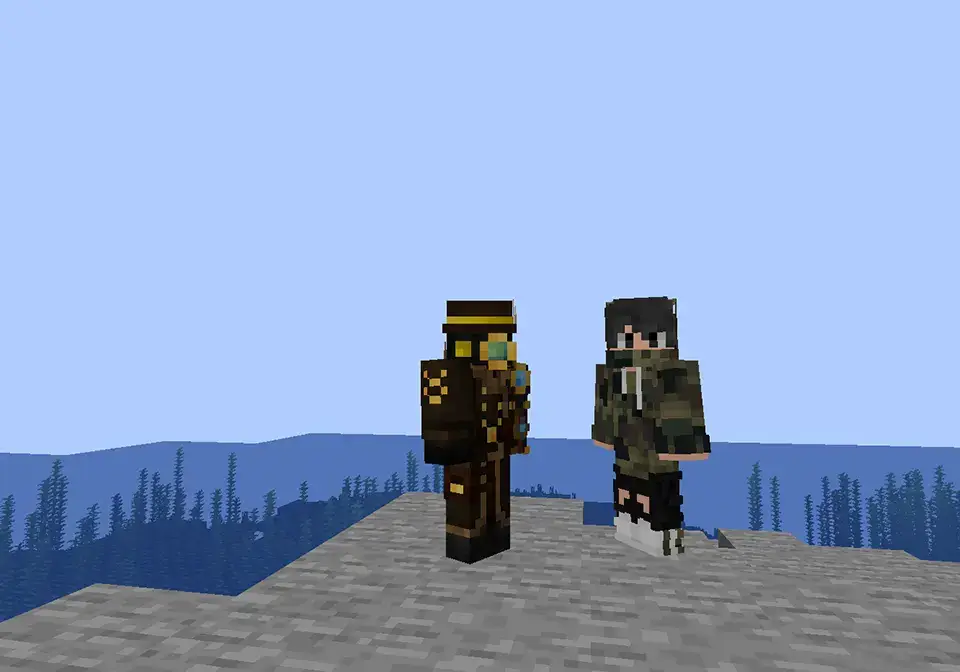
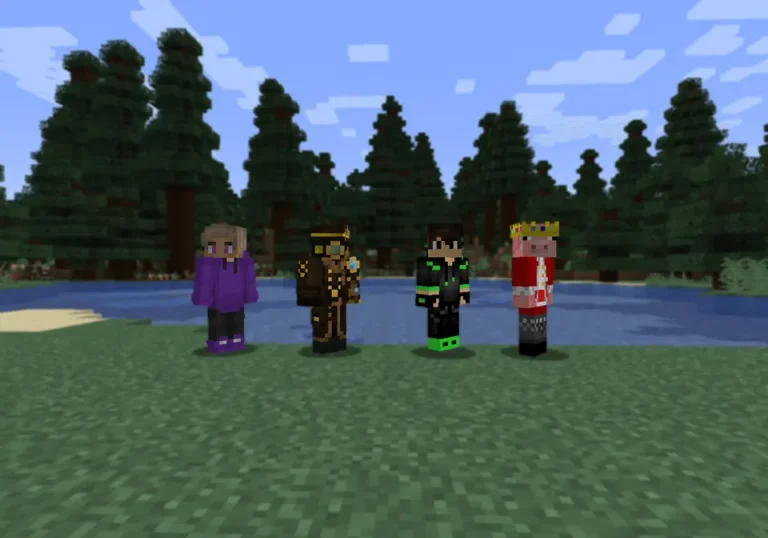
Skins provide a sense of individuality and uniqueness in a game, but one is often restricted to building something that already exists. It would be nice if one could design their own. Follow our instructions on how to make custom Minecraft skins on Android or iOS devices by taking simple textures.
How to Make Custom Minecraft Skins: 8 Steps
Steps will require little more than the right software and some time spent practicing how to make custom skins.
- Download an Android or iOS application called TexturePacker from https://texturepacker.com/. An open-source program that converts images into .mcj files, used for custom skins for Minecraft.
- Now, you need to take His MCJ file – the one created by TexturePacker (see Step 1) and convert it into a PNG image. With a small app called PNGout, which is available on the Play Store. For more information on converting an MCJ file into an image suitable for skinning.
- Import the converted png file into TexturePacker. Clicking on the “Import” button in TexturePacker and selecting the png file. Then click on the “Generate texture pack” button. Save the texture pack in TexturePacker’s directory and a backup copy if needed later.
- You need to create a Minecraft account, go to https://minecraft.net/, log in with their username and password, and then download Minecraft for Android or iOS.
- If the texture pack is absent, one must re-download it. To do this, go to the account, click on “texture packs” at the top of the page, select “open,” then download the “OCD pack” if the Player is using an Android device or the “Jedi Pack.
- The texture pack must be installed correctly by opening Minecraft. To check everything correctly, press the “Back” button, open the inventory screen, and ensure all the items are there.
- Once Minecraft is installed, open the “Options” menu on the device and go to “Profile.” At the bottom of this page is the button to open the texture pack. Players can verify pack is installed properly by checking the name. If it has a name like Minecraft: Jedi or Minecraft: odyssey, that’s a good sign. If not, one will be required to reinstall it from Step 5.
- To get Minecraft skins into shape, one needs to go to this page on the Minecraft Wiki and locate a skin they desire. Next, click on the “Download skin” link at the top of the page.
That will take you to a page to download a less-than-full version of Minecraft skin. Download only the image that begins with “Crafting,” “Glasses,” or “Goofy.” These three infrequently appear in the game, so these are good skins for the Player to select as his base design.
Navigate to the Minecraft directory. If installed on a computer, go to my documents and look for a folder called “games.” Inside this folder is another one named “Minecraft” – this is where Minecraft lives.
Next, open the “texture packs” folder. Here, make a new text document and call it a “custom skin pack.” Finally, open the text document and have downloaded skin as png files inside the same directory. McPeak file that one created in Step 3 above.
Naming the New File Custom Skins Pack
- The Player should to ensure that his skin shows up in the game and run Minecraft. First, ensure the texture pack works by pressing the “Back” button on the device’s Minecraft app and ensuring that the added custom skin appears in the character’s inventory.
- If it does not appear for some reason (maybe it didn’t convert properly), the Player will reinstall the texture pack. See Step 5 above for instructions on how to do this.
- Next, press start and click on “Single-player.” Then open up a world of choice and make sure that the skin added from Step 8 is there. If it does not appear (it means the Player failed to convert 1 of the 3 textures properly for my character), the Player will have to re-download the skin from Step 8.
- If everything is working as it should, go ahead and download minecraft_pocket_edition from the Play Store. Once installed, open Minecraft again, then enter “Minecraft: Jedi” into the text field at the top of the screen.
- Press “Play.” A new world where Minecraft skin should be present. If one follows these steps correctly and pays attention to detail, Minecraft skin should now be able to be used both on PC and in Pocket Edition.
Conclusion
These are the steps to creating custom skins for Minecraft using TexturePacker and a converted png file. This method is effective, easy to use, and simple for any first-time skin designer.

Eight Steps to Make Custom Minecraft Skins