

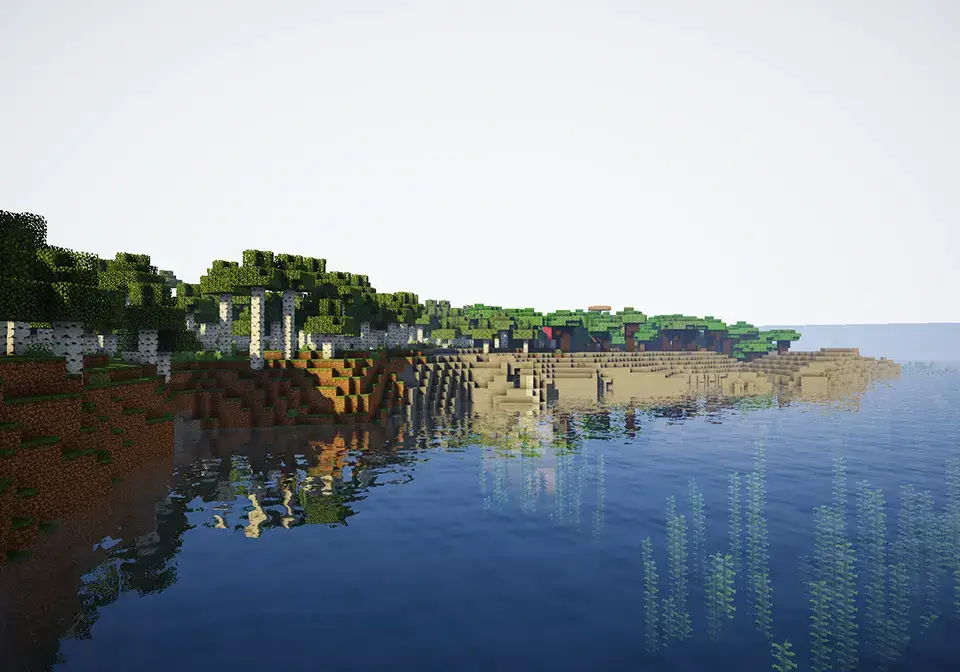
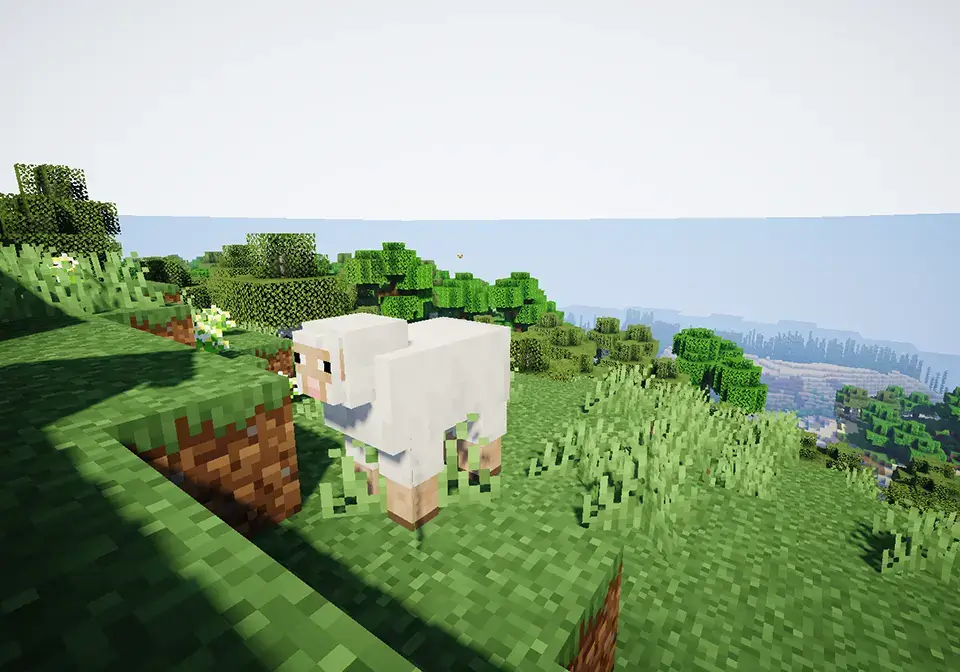
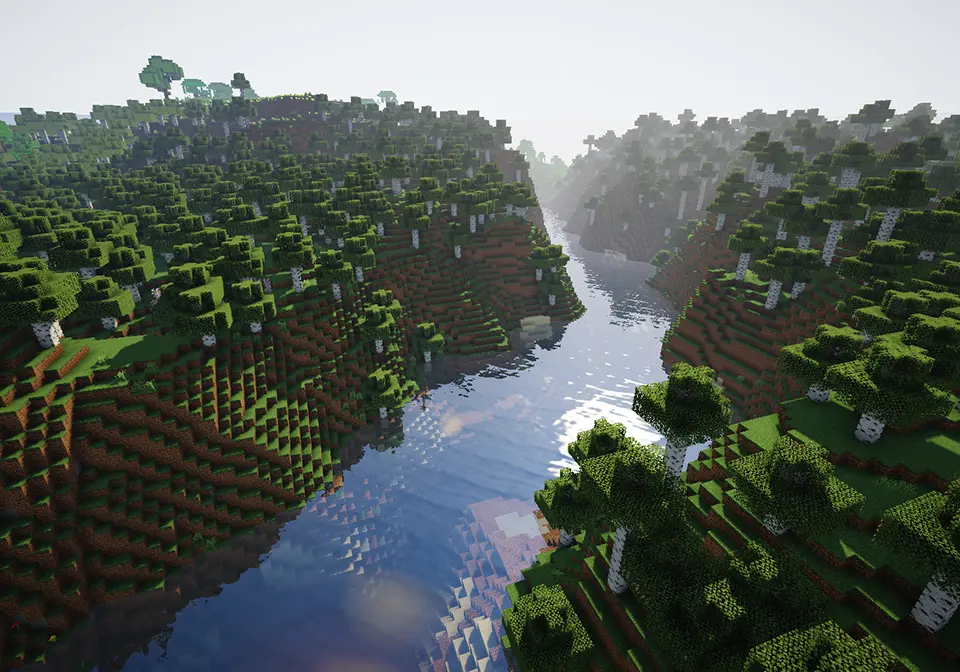
Every once in a while, you might find yourself playing Minecraft and wishing there was more to it. You might have played for hours on end, and there is just no more content to explore. You might feel like you are exploring the same old world with the same old resources, just over and over again. This post will teach how to install shaders in Minecraft experience by adding shaders (or mods), making it look like Minecraft has been made in a 3D rendering engine with dynamic lighting effects.
How To Install Shaders in Minecraft: 3 Useful Options
Shaders are installed separately, but it is easier to install them if they are installed as the main file. If you only want a shader or two, you can download the specific shader pack instead. However, I recommend installing everything to prevent potential conflicts with other mods.
Step 1: Download the necessary .jar files
Minecraft Shaders is a mod that adds shaders to Minecraft. It is the main file you will need to install shaders in Minecraft. It is compatible with Mac, Windows, Xbox and Linux. The site provides an installer for all of the different platforms. It is also possible to download Minecraft Shaders manually as a zip or 7z file and copy them into your Minecraft mods folder.
Step 2: Create Mods Folder
The mods folder is in your .minecraft directory under the name “mods”. This folder contains any additional program you want to run with your game. Follow the below instructions for your computer to create a mods folder if you do not already have one.
Step 3: Install Minecraft Shaders .jar files in Mods Folder
Extract the .jar files from the mod download into your mods folder. I recommend extracting them directly into the root of the mods folder, but it is possible to extract them elsewhere and move them. The main file will be named “ShadersMod-v2.0.1-mc1.5.zip”. If you see any additional files, ensure they are in this directory.
Step 4: Start Minecraft
I recommend starting a freshly made world with the latest version of Minecraft (1.7.2 at the time of writing). You can launch either your normal Minecraft or single-player mode. If you want to use shaders for multiplayer, you will need to launch multiplayer mode, which is available in both modes.
Step 5: Browse Shader Pack Section
You should be at the main menu screen after starting your game for the first time. Start by going to World -> Shader Packs. Click on a shader pack and select “Download” from the bottom left corner. Open the downloaded .zip file and extract it into your mods folder.
Conclusion
You should now have shaders installed to continue exploring the world of Minecraft and see what new changes you can make. Check out some of the other available mods. You might be surprised at how many there are.
Three Options to Install Shaders in Minecraft